Dodge Ram Side Steps Installation
I bought a Dodge Ram pickup truck in 2008 and promptly found out it needed side steps to get in easier. I looked at the two options the dealer had. One was a pair of Westin nerf bars. They were quite a bit cheaper but I didn't like that you'd have to unbolt the body mounts [read: integral structural bolts] in order to install them. So I paid a bit more and bought the genuine Mopar ones that bolt on real nice. This "how-to" installation article covers the installation of Mopar side steps on my 2008 Dodge Ram 1500 Quad Cab. Apparently the same procedures will work for all 2002 through 2008 Ram Quad Cab trucks. I'm sure the regular cab and mega cab instructions are similar.
The dealer wanted about $300 to install these Mopar chrome oval side steps. I did it myself and saved a bundle of money. It's a pretty easy install so I'd recommend anyone able to install them do so. The dealer takes enough cash from you between the purchase and service of your vehicle ;-) OK, enough with the rant, let's get down to business...
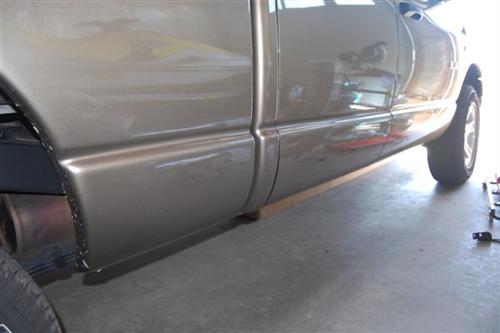
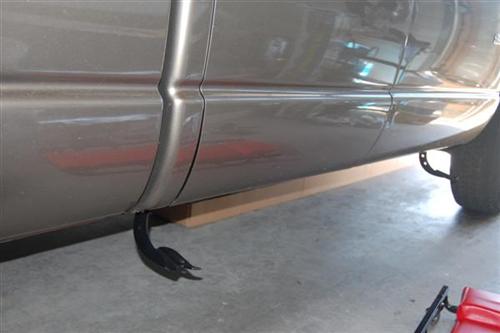
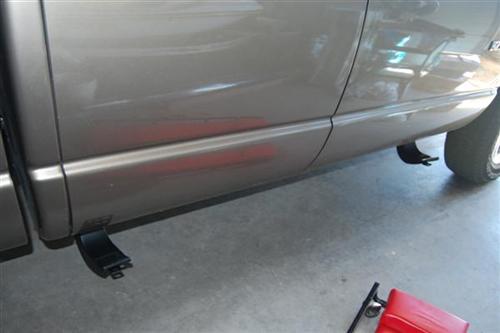
Here's a BEFORE photo:
It's actually a pretty easy process, all you need are a few basic hand tools. The Mopar side steps fit great because it uses existing holes in the body, you don't need to drill (or unbolt the truck's body mounts like on some other brands).
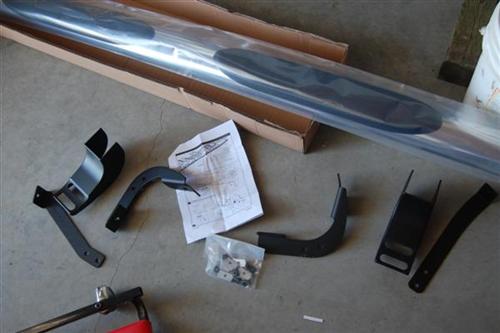
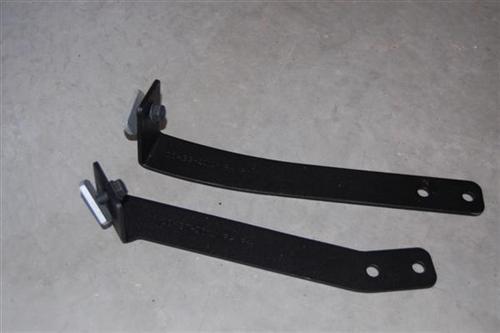
To begin, open the box and verify everything is there. There are brackets, nuts, bolts, 4 plastic covers, instructions, and the side steps themselves.
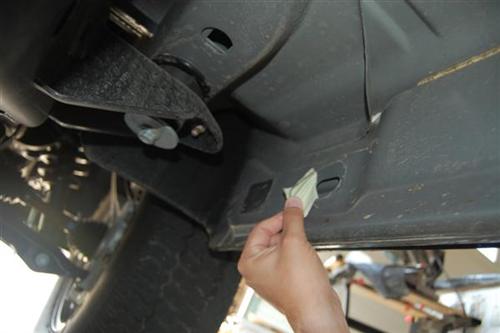
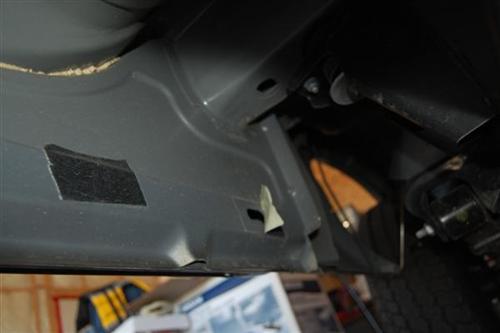
OK, now that you've verified everything is there you can begin. Start by looking under the truck at the existing holes. The holes you want to uncover are the second hole from the front of the cab and last hole at the rear of the cab. Here's some photos of them:
OK, so now that you have the holes picked out, you need to get the two brackets for that side, two bolts, and two metal oval-shaped things. Screw them on to the brackets like this:

So now put the right bracket in the right hole. It's a little tricky. Make sure you don't have the shiny metal piece screwed on very far, simply wiggle it until the silver metal piece fits in the hole like so:

Once you're done you can finger-tighten the bolts. So you should see this now:
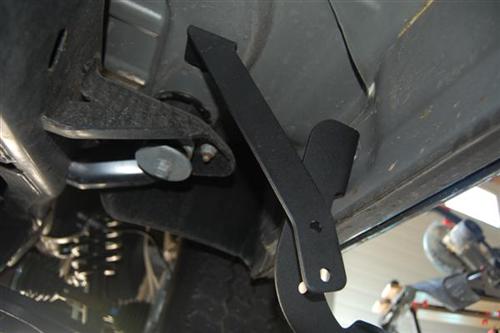
The next step is to get the two metal L-shaped bracket supports that will bolt up to the brackets you just installed. Same thing here, install the bolts and the silver oval shaped "nuts" onto the right end of the brackets. Here's a shot of them:
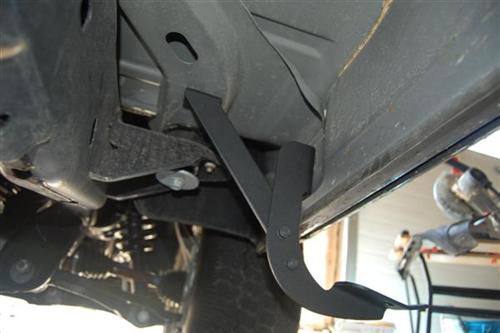
Now put them into place like so. Note which way the bracket is installed and how it overlaps (this is the RF bracket):
Go ahead and put in the other two bolts & nuts and finger tighten everything:
So do that for both the front and rear brackets. You're almost done! So the next step is to grab those two plastic covers that will cover up the metal brackets once the tubes are installed. Here's a photo of them:
Next, put the tubes onto the brackets and finger tighten them as welll:
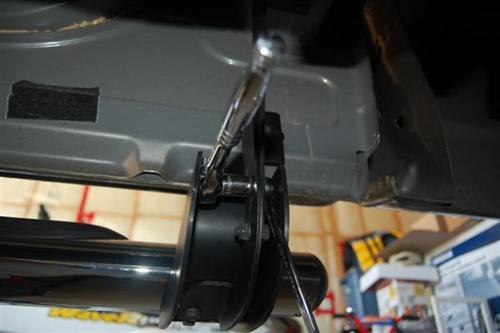
So once they're on and lined up, simply bolt everything up starting with the tubes themselves. If I recall correctly you'll need a 13mm socket & ratchet, and possibly a 13mm open-ended wrench as well. Photo:
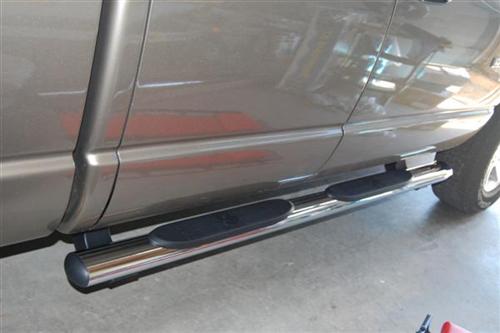
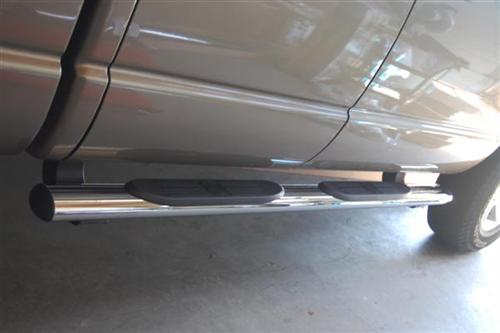
So here's the finished product. Repeat for the other side and enjoy the $300 you just saved by doing the install yourself. Don't spend it all on beer though LOL!

Other Resources
If you're a Dodge Ram owner, you may want to check out these Dodge Truck forums: